


In this article, we’ll explain how UV DTF stickers are made, where they can be used, how they’re applied, and what to keep in mind for the best results.
Basic Introduction To UV DTF Stickers
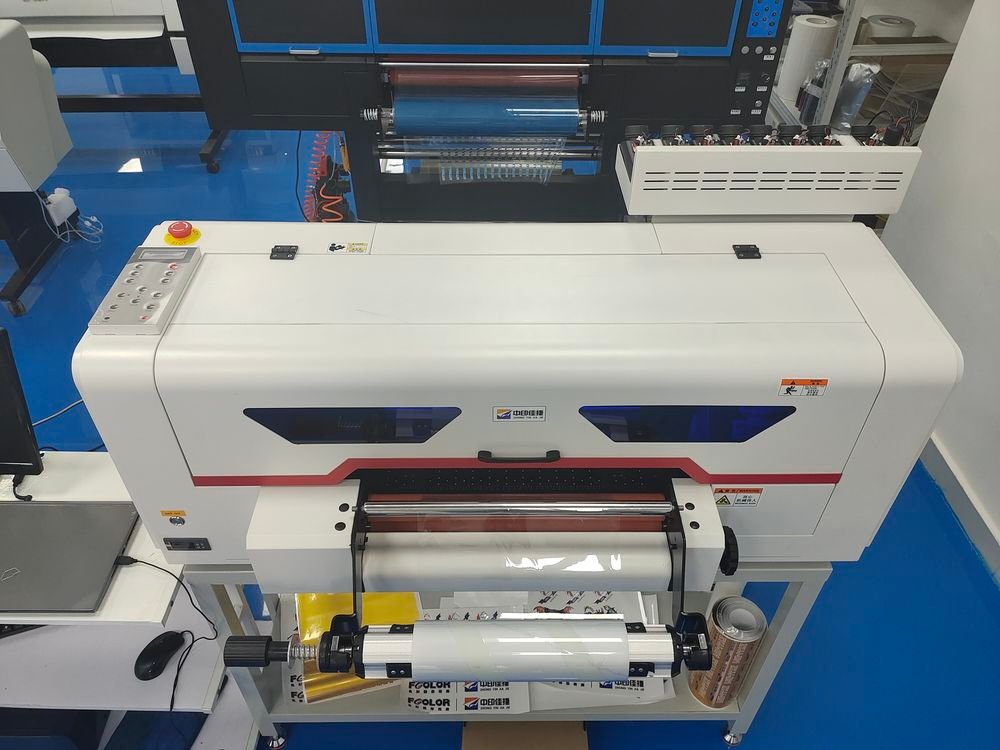
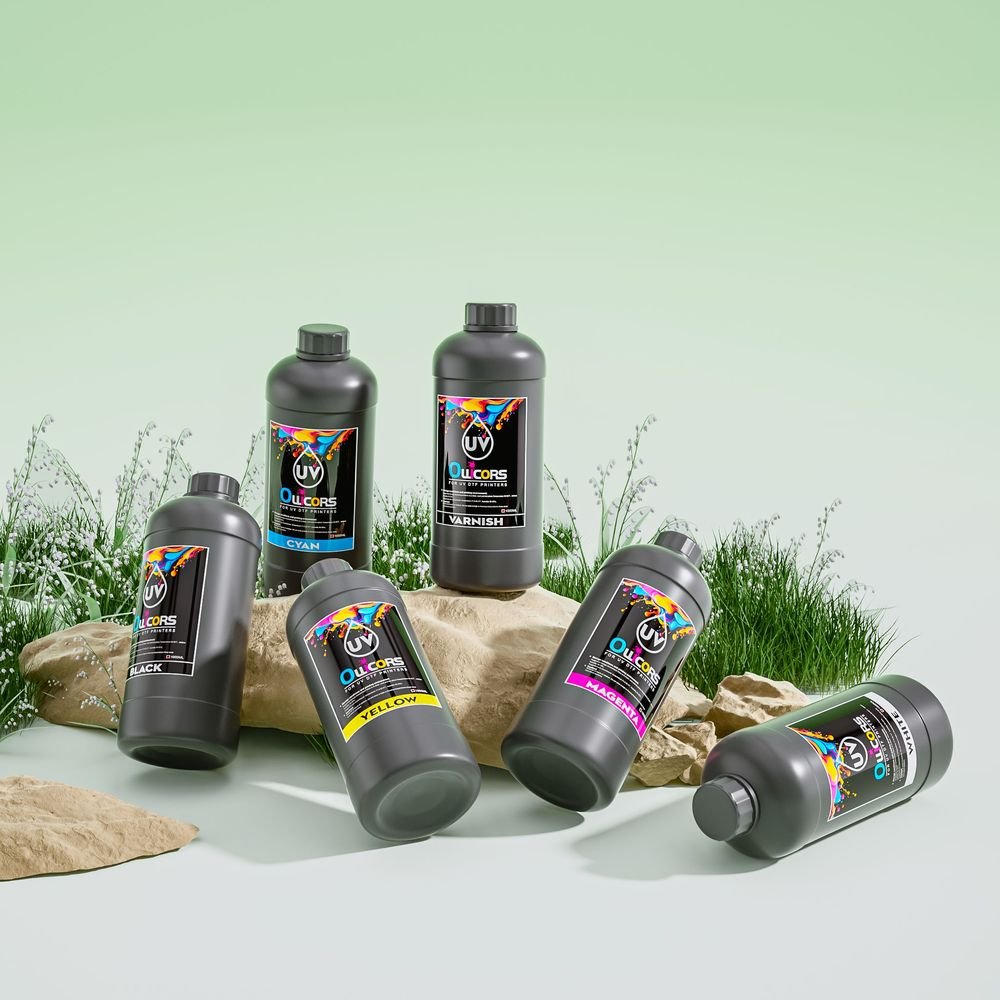
The production of this sticker involves a layered UV printing process using:
- A UV DTF printer
- UV-curable DTF ink
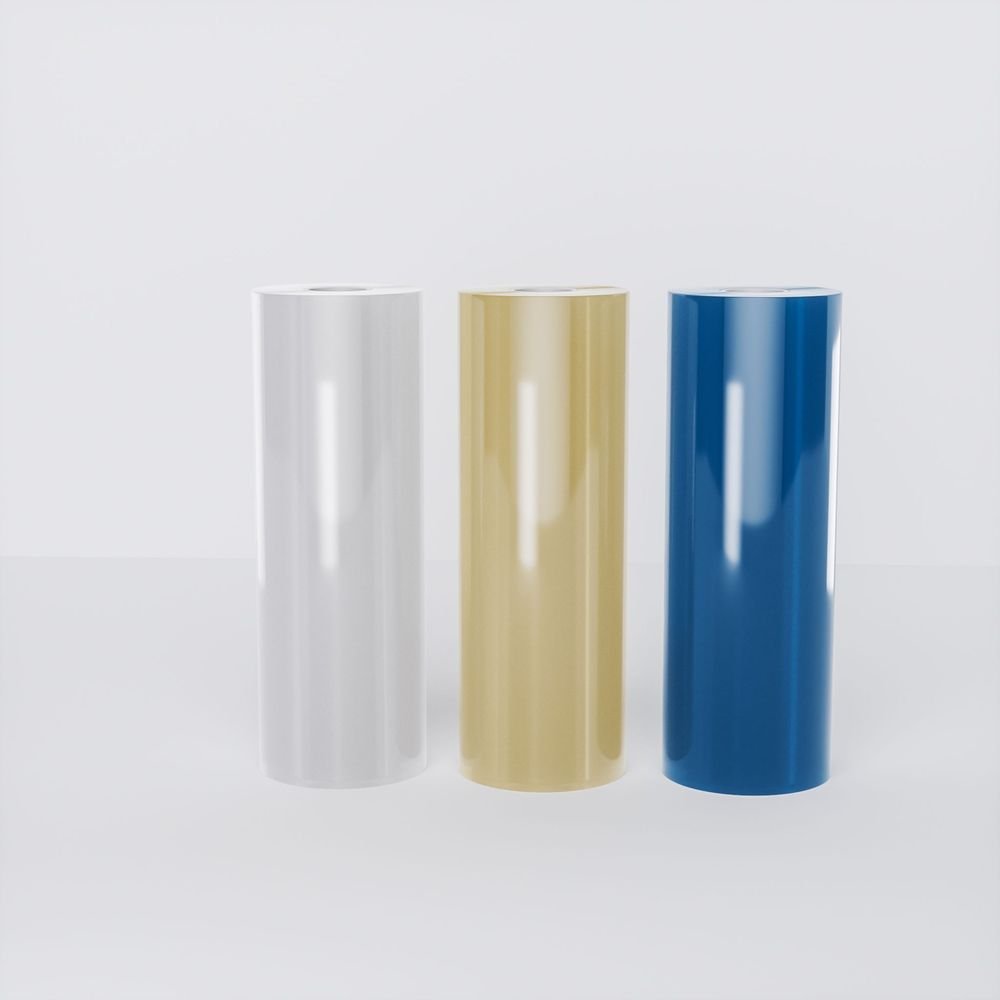
- UV DTF AB Film (A Film for printing, B Film as the adhesive layer)
What we actually see as a “sticker” is a type of “film with a peelable layer” formed by AB film lamination. Generally, the A film is used to hold the cured ink, and the B film provides the adhesiveness for the transfer.
These stickers aren’t exactly universal, even though they can stick to many things. They have limitations if the surface isn’t smooth and flat. UV direct-to-substrate printing and curing is a better approach than UV DTF transfer when dealing with uneven or textured surfaces.
Where Can You Use UV DTF Stickers?
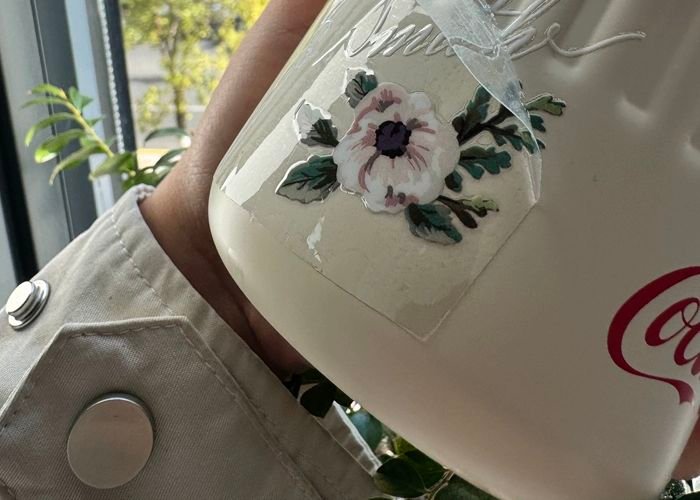
This sticker are incredibly versatile and adhere well to most non-porous, hard surfaces. Common application surfaces include:
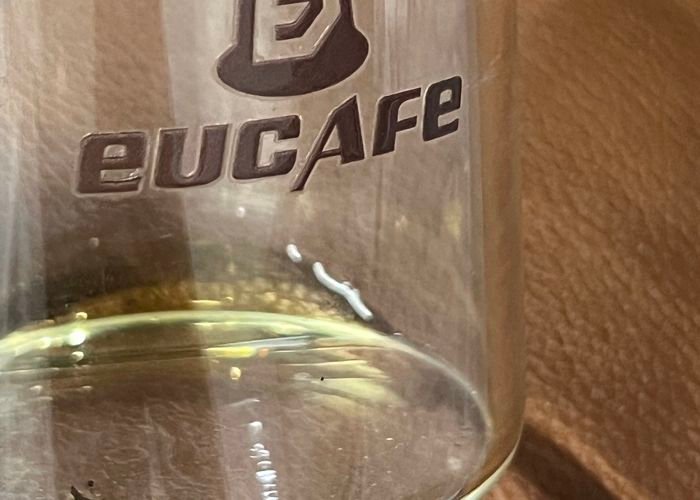
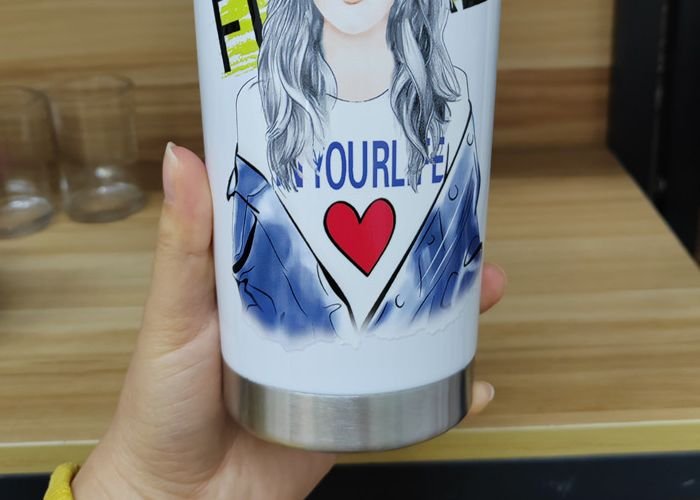
- Ceramics – mugs, tiles, ornaments
- Glass – tumblers, jars, window panels
- Plastics – bottles, cases, containers
- Wood – home decor signs, wooden boxes
- Metal – stainless steel tumblers, aluminum nameplates
- Acrylic – display signs, keychains
- Silicone – phone cases, wristbands (with primer)
As a result, this makes them ideal for use in custom gifts, promotional items, personalized decor, small business branding, and more.
It’s important to note that UV DTF stickers are not currently suitable for use on clothing or fabrics. While there have been attempts to use them in this way, the technology is not yet mature. See: Can You Put UV DTF Transfer Film On Clothes?
How to Make UV DTF Stickers: Step-by-Step Process
1.Prepare Your Materials
- UV DTF printer with UV-curable ink
- UV DTF A Film and B Film
- Laminator (if not built into printer)
- RIP software for artwork setup
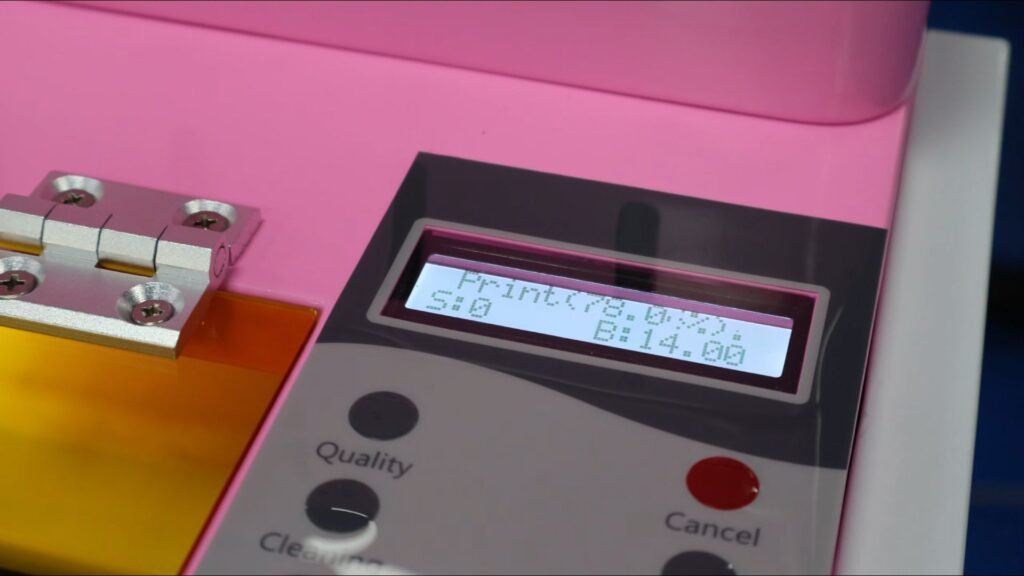
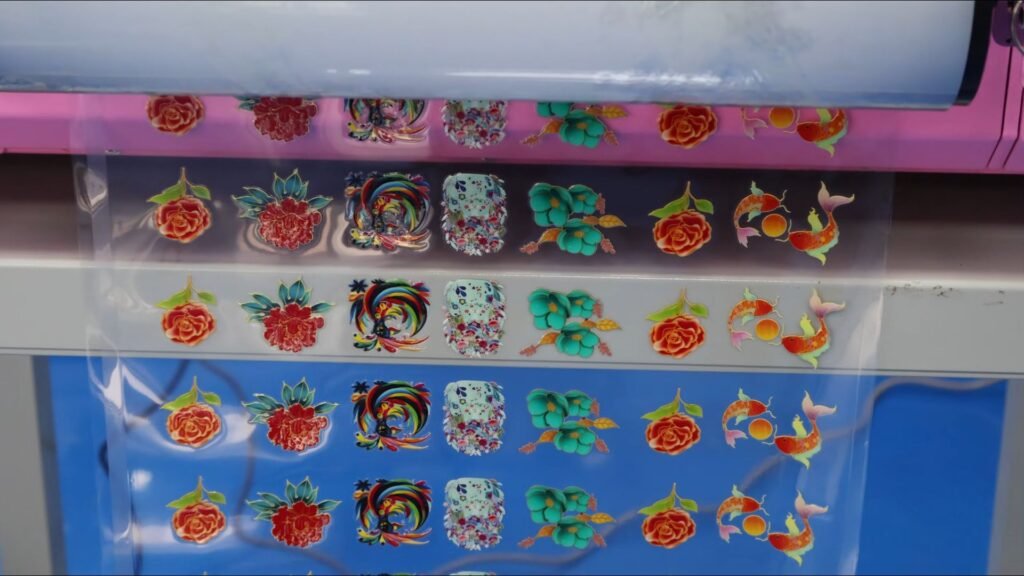
2.Print the Design
- Import your design into RIP software.
- Print in layers: Color ink → White → Gloss varnish.
- Each layer is UV-cured during the print process.
3.Laminate with B Film
- Align the B Film onto the printed A Film.
- Use a laminator to bond them evenly.
- Avoid dust, fingerprints, or pressing errors during this step.
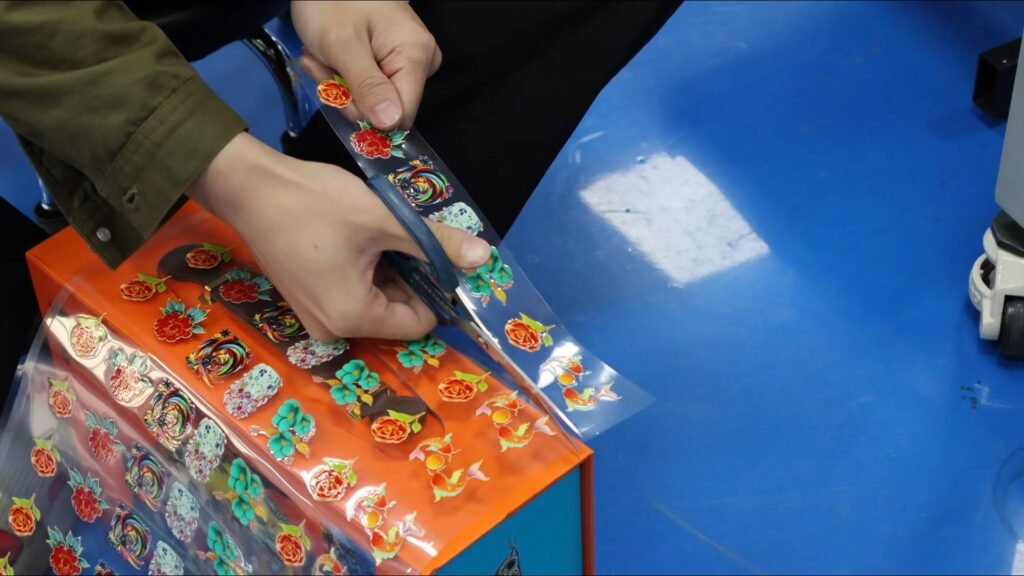
4.Cut and Apply
- Trim the sticker to your desired shape.
- Peel off the backing film to expose the adhesive.
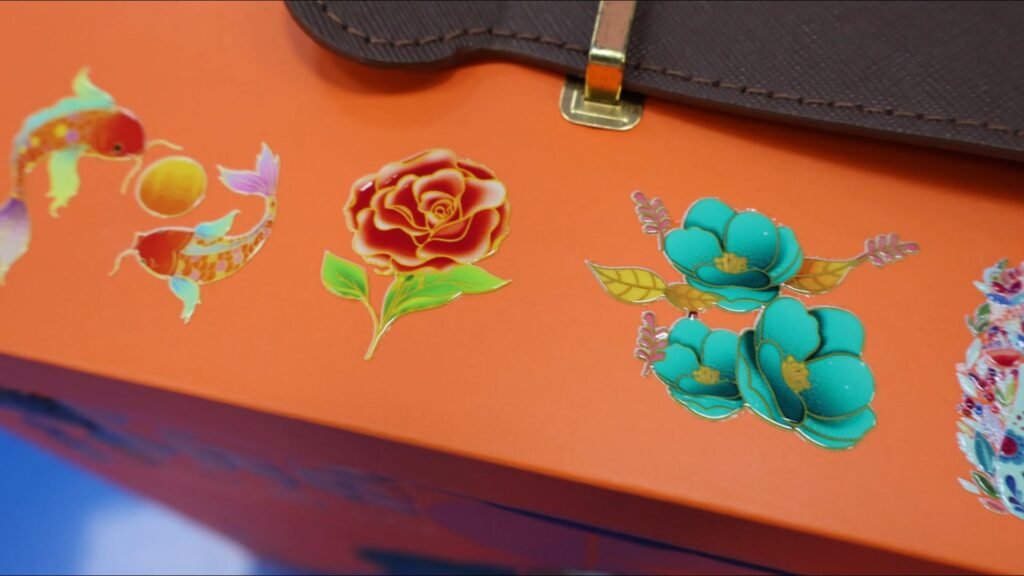
- Apply to your chosen surface and press firmly.
- Peel away the top protective film—your design remains beautifully stuck in place.
See also: How Do You Use UV AB Film?
Tips and Best Practices for UV DTF Stickers
- Use high-resolution images for sharper output.
- Keep printer and laminator clean to avoid contamination.
- Avoid applying in high humidity—moisture affects adhesion.
- Test the material before full production, especially for silicone or coated surfaces.
Furthermore, here are some common scenarios you might encounter while using these stickers, click to learn more.
- How To Solve Insufficient Adhesion Of UV DTF Inks?
- How To Solve The Blistering Of UV DTF Inks Printing?
- Problems When Using UV DTF Ink: Ink Spatter and Ink Dispersion
FAQ: All About UV DTF Stickers
Q1: Do I need heat to apply UV DTF stickers?
No. This stickers are cold peel and require no heat press.
Q2: Can I use stickers on fabric?
Not recommended. They are made for hard, smooth surfaces and do not flex well with fabric.
Q3: How long do stickers last?
With proper application, they offer long-lasting adhesion and color stability, especially indoors.
Q4: Are UV DTF stickers waterproof?
Yes, once applied, they are water-resistant and scratch-resistant—ideal for tumblers, bottles, etc.
Q5: Can I print UV DTF stickers without a laminator?
Some printers come with built-in laminators. If not, you’ll need a separate laminating step.