


Due to the nature of the DTF printing process, colored ink is typically printed first, followed by white ink layered on top. If the white ink fails to completely cover the colored ink, the final print may exhibit inconsistent colors.
Think of the white ink as a base or background. If this background has a missing section, the design elements on top will appear dull.
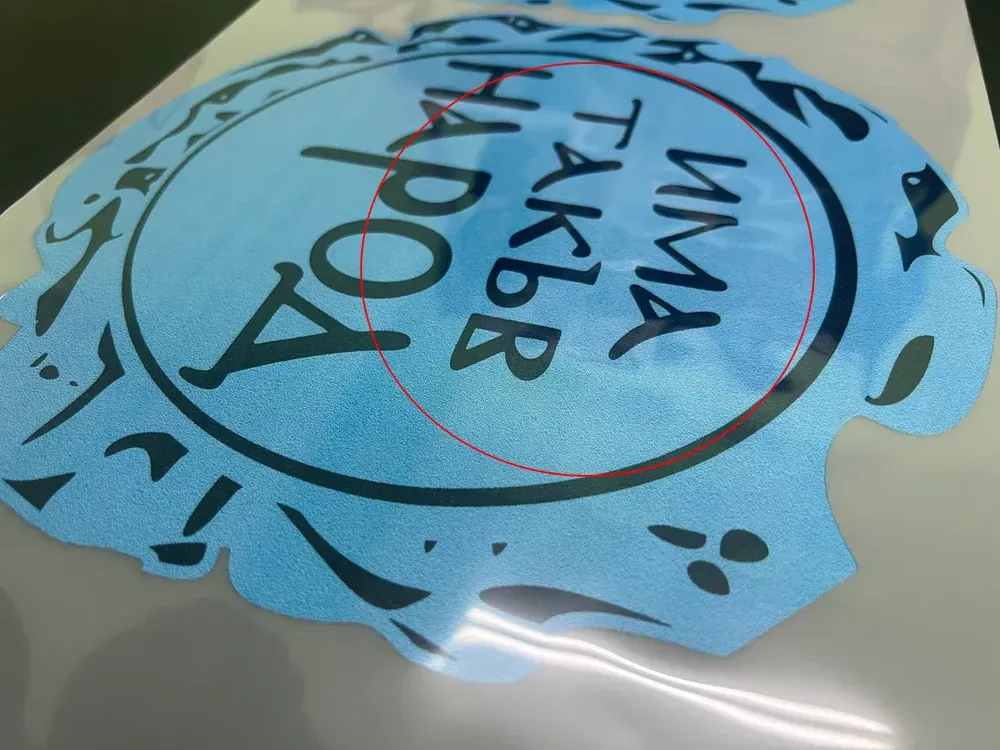
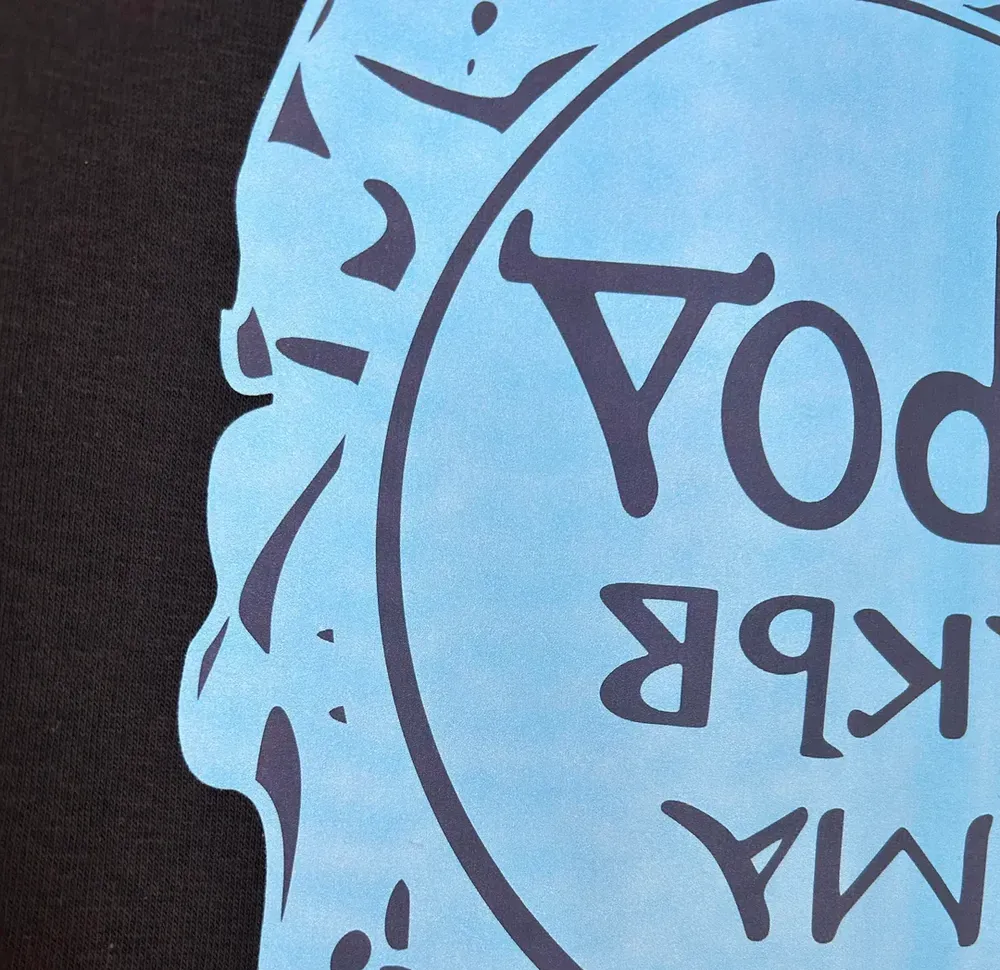
Looking at the image below, you’ll notice that the white ink doesn’t completely cover the colored ink, giving the design an odd look.

What Does It Mean When White Ink Isn’t White
In DTF printing, white ink plays a crucial role as the base layer that ensures colors appear vibrant on the final garment. However, sometimes users notice that the “white” doesn’t look strong enough. Instead of fully covering the colored areas underneath, it lets the background show through—this is often called color leakage or base layer exposure.
Simply put, the white ink lacks sufficient opacity, causing colors that should be concealed to remain visible. It’s important to note that this inadequate white ink density isn’t necessarily due to the ink quality itself; it might be a result of adjusted settings or failure to agitate the white ink.
The image below is a good illustration of this phenomenon. Take a closer look, and you’ll notice that the pattern seems to have some color distortion.
Properly Record This Issue
When you find that your DTF ink isn’t white enough, the first thing you should do is document the problem.
If you notice this problem during printing, the first step is to pause your printer immediately. Take clear photos or short videos of the print result before applying adhesive powder and curing the film. At this stage, you are only seeing ink on the film, which makes the problem easy to capture. Once powder is applied and melted, it becomes harder to tell whether the white ink layer was insufficient.
Also, record the software settings you used at that moment. Having both the visual result and the printer settings documented will make it much easier to troubleshoot the problem later.

You Can Quick Self-Checks
Before assuming the problem is complex, there are a few simple checks you can run yourself:
- Confirm Ink Output Percentage: Open your printer software and look at the white ink percentage. If it is set too low, the printer may not be releasing enough ink to cover the base layer.
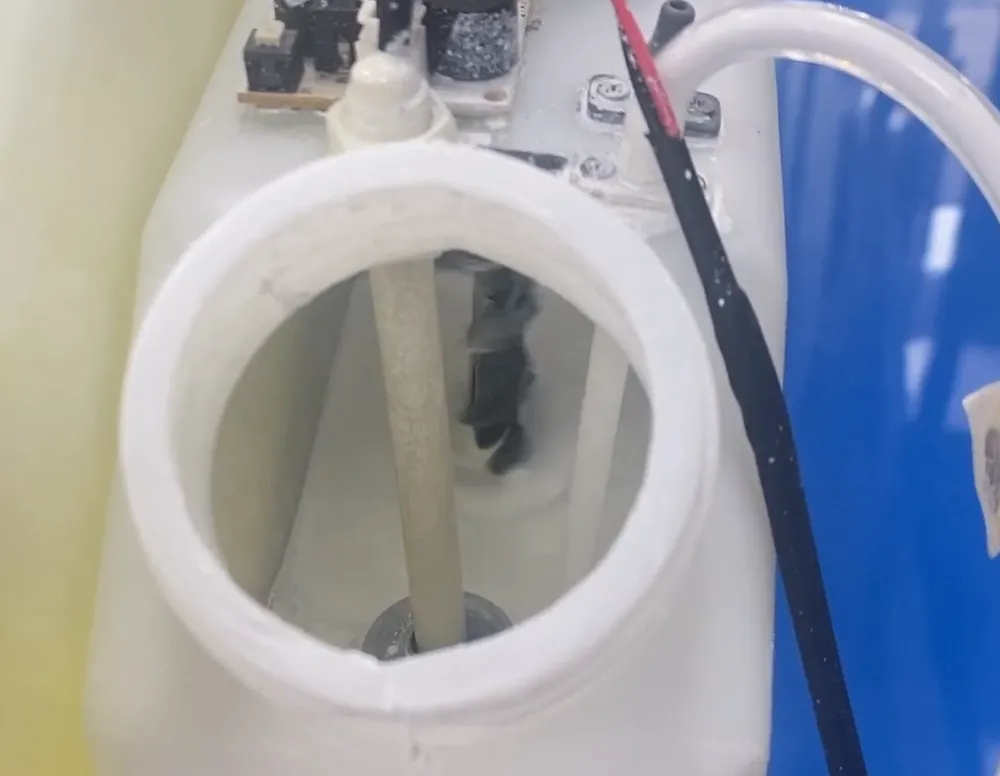
- Check for Ink Circulation and Stirring: White ink is heavier and more prone to settling compared to other colors. If your printer lacks a circulation system, or if the printer has been idle for a long time, white ink may have partially settled and clogged the printhead.
- Consider Printhead Blockage: A partially clogged nozzle will naturally reduce ink flow, leading to weak coverage. Running a nozzle test pattern can help confirm whether the white ink nozzles are firing correctly.
Common Solutions To Fix Weak White Ink Coverage
We often get asked about how ink isn’t white enough to cover the base layer when printing. We’ve looked into our own solutions for this, so here’s something you can try:
- Adjust White Ink Output in Software: Increase the ink percentage or change the layering settings in your RIP software. If adjusting these settings makes the problem disappear, it means your issue was purely software-related.
- Switch to a Fresh Batch of Ink: Not all white inks are formulated the same. Some contain more moisturizing agents, which can dilute the density of the white pigment. Testing with a new batch of ink can help you rule out formulation issues. If the new ink produces solid white coverage, then your previous batch had a formulation problem.
- Test Different Transfer Films: Sometimes the issue is not the ink but the film’s absorption ability. A film with poor ink-receiving properties won’t hold enough pigment to create a dense white layer. Try switching to another batch from the same brand, or even test a film from a different manufacturer to see if coverage improves.