


But black print is more than just a darker version of white print. It has its own characteristics, challenges and techniques. Let’s talk about what really happens when you print DTF ink on a black shirt – and how to do it perfectly.
Why Even Print DTF Ink On Black Shirt?
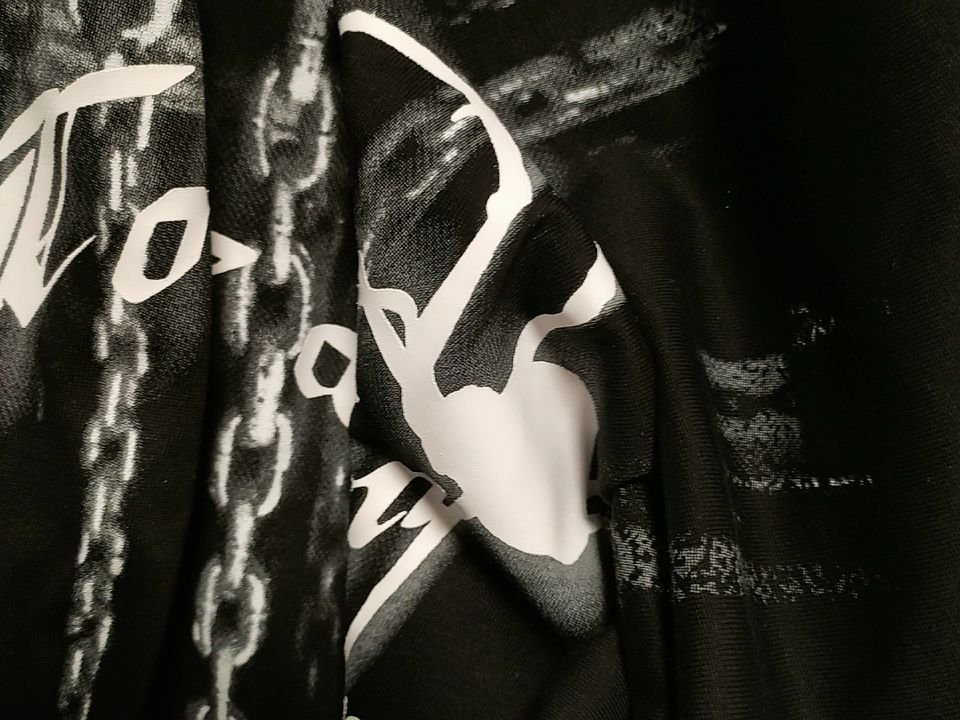
Honestly, black shirts are everywhere. They’re flattering, don’t stain easily, and make colors pop like fireworks on a summer night. That’s why so many brands love using black tees for bold graphics or edgy designs.
But here’s the catch: DTF printing on black isn’t as straightforward as with white shirts. Unlike light fabrics, black absorbs more light and contrast—meaning your vibrant design can end up looking muted or even invisible if you don’t lay down a proper white ink base.
Let me explain.
White shirts act like a blank canvas. Any color you throw on them shows up easily. But with black? Every color needs a boost to be seen. That boost comes from a solid white underbase—sort of like priming a wall before painting it a bright color.
When you print on black fabrics, you’ll find that many of the problems associated with DTF inks will be extraordinarily noticeable, as can be seen:
- Why Does DTF Inks Fade and Dull? Common Causes & Solutions
- Why Does The DTF White Ink Not Cover The Color Ink?
What Makes Printing DTF Ink On Black Shirt Different?
Here’s what you’re up against when working with black fabric:
- Color absorption: Black eats light. Without a white underlayer, colors sink in and disappear.
- Detail loss: Gradients, shadows, and soft edges get swallowed by the dark background.
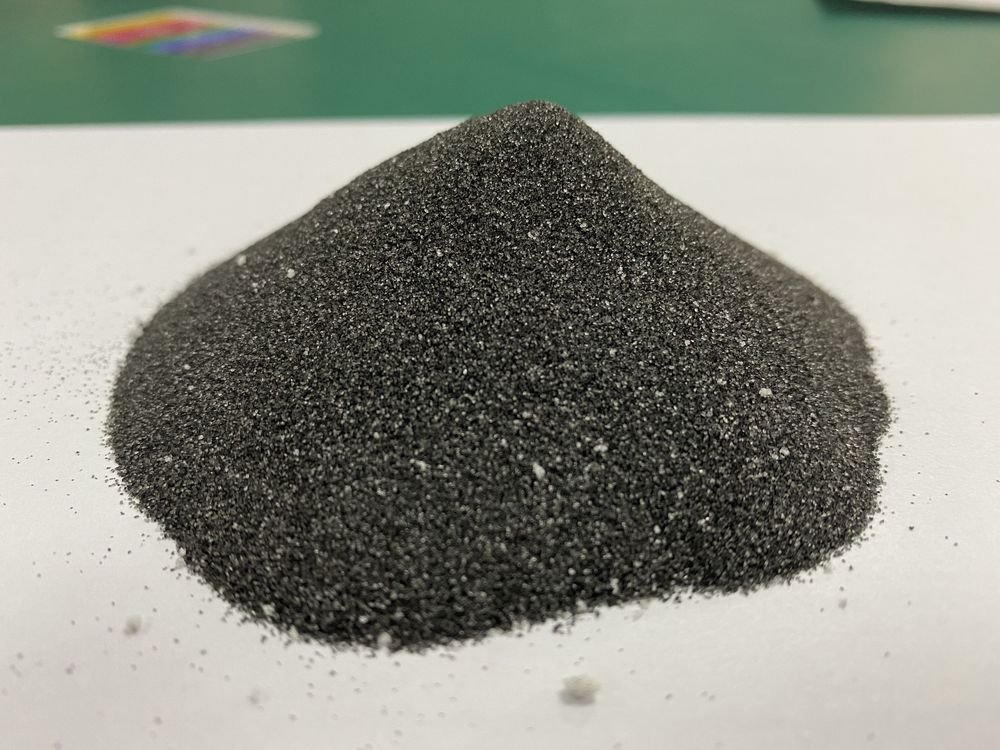
- Adhesion issues: Certain powders or films work better on light shirts. Black shirts need better bonding—and that usually means black or matte adhesive powders.
- Pressing precision: A small misalignment is more visible on black. There’s zero forgiveness here.
So, while DTF shines with its flexibility, printing on black is where it really earns its stripes.
How To Print DTF Ink On Black Shirt (Step By Step)
Here’s your no-fluff walkthrough, from design to transfer.
1. Design Like You Mean It
- Use a transparent background—you don’t want random white squares on a black shirt.
- Add white elements intentionally to make details pop.
- Stick with 300 DPI resolution—trust me, your future self will thank you.
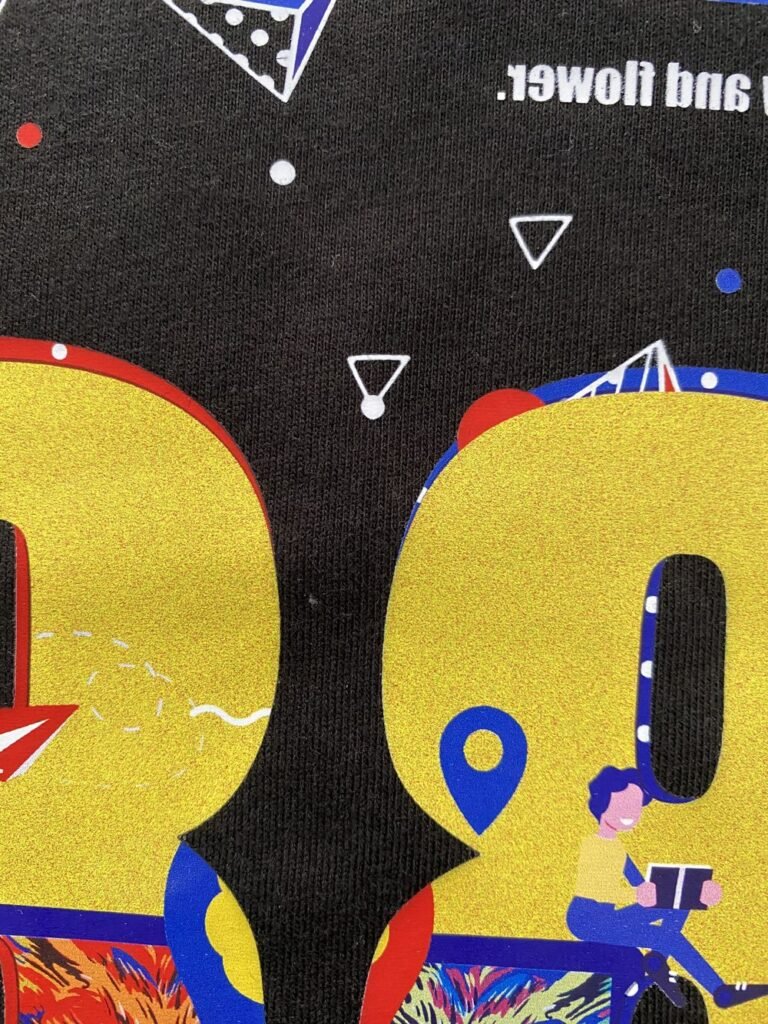
2. Print CMYK First—Then White Ink
- Always print the color layer first in mirror mode.
- Then overlay a strong, opaque white ink layer.
- This white base acts like a spotlight behind your artwork.
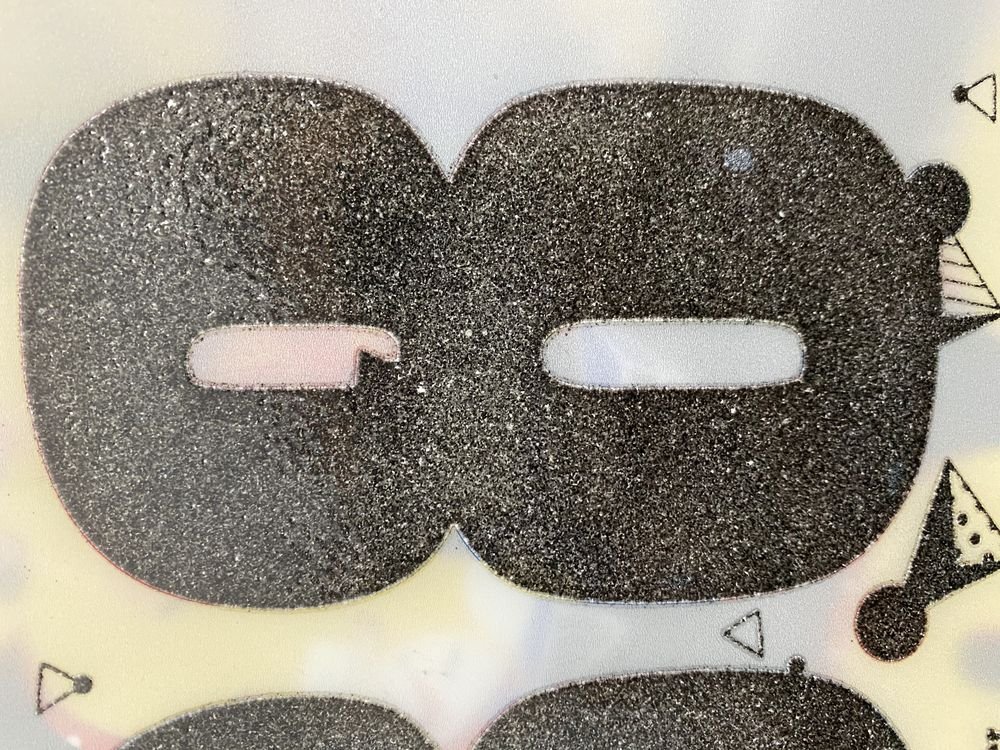
3. Apply Hot Melt Powder—Carefully
- Sprinkle the powder while the ink’s still wet.
- Use black or matte powder to prevent that weird white halo effect.
- Shake off the excess like you’re dusting sugar on a donut—light and even.
4. Cure the Powder
- Place the film in a curing oven or hover press (don’t touch it!).
- Aim for 325°F (163°C) for about 2–3 minutes.
- Look for a glossy finish—it’s your sign that the powder melted right.
5. Prep the Shirt
- Pre-press your black shirt for 5 seconds to remove moisture and wrinkles.
- Lay it flat. Really flat. Wrinkles = bad transfer.
6. Transfer Time
- Place the film, design facing down.
- Press at 320°F (160°C) for 15-20 seconds with medium-firm pressure.
7. Cool, Then Peel
- Let it cool a bit—5 to 10 seconds should do.
- Peel slowly but confidently. If done right, your design should be vivid and clean.
Print DTF Ink On Black Shirt vs. White Shirt: What’s the Real Difference?
Let’s make it visual:
| Feature | White Shirt | Black Shirt |
|---|---|---|
| White Ink Needed? | Nope | Yes, absolutely |
| Background Influence | None (neutral) | Strong (can darken colors) |
| Powder Choice | Regular or white powder | Black or matte recommended |
| Design Prep | Simple | Needs high contrast and white layer |
| Final Look | Clean, subtle | Bold, vibrant—but tricky to perfect |
Extra Tips When Printing DTF Ink On Black Shirt
Just a few things to keep your prints looking top-tier:
- Use black hot melt powder – Helps keep the edges clean on black garments.
- Double up on white ink if your printer allows it – Some RIP software lets you increase the density for better vibrancy.
- Test press one shirt before doing a batch – Black shirts are less forgiving, and mistakes show fast.
- Final press with parchment paper – Adds durability and smooths the finish.
And please, don’t forget to shake your white ink bottles daily. Settled white ink can ruin your day faster than you can say “print head clog.”
Conclusion
Printing DTF ink on black shirts isn’t rocket science, but it’s not a cakewalk either. Once you get the hang of prepping white layers, adjusting heat, and choosing the right powder, it becomes second nature.
So go ahead—print that neon tiger, that retro skull, or your brand’s boldest design. The black shirt’s got your back. Literally.