


Let’s walk through the full process, from design preparation to final transfer, and share key tips along the way.
What Is DTF Transfer Film?
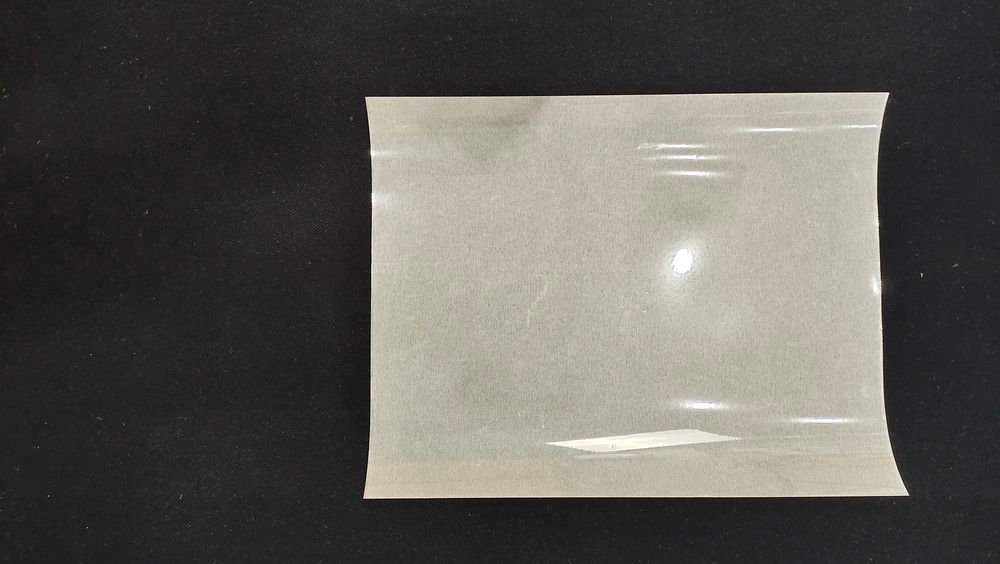
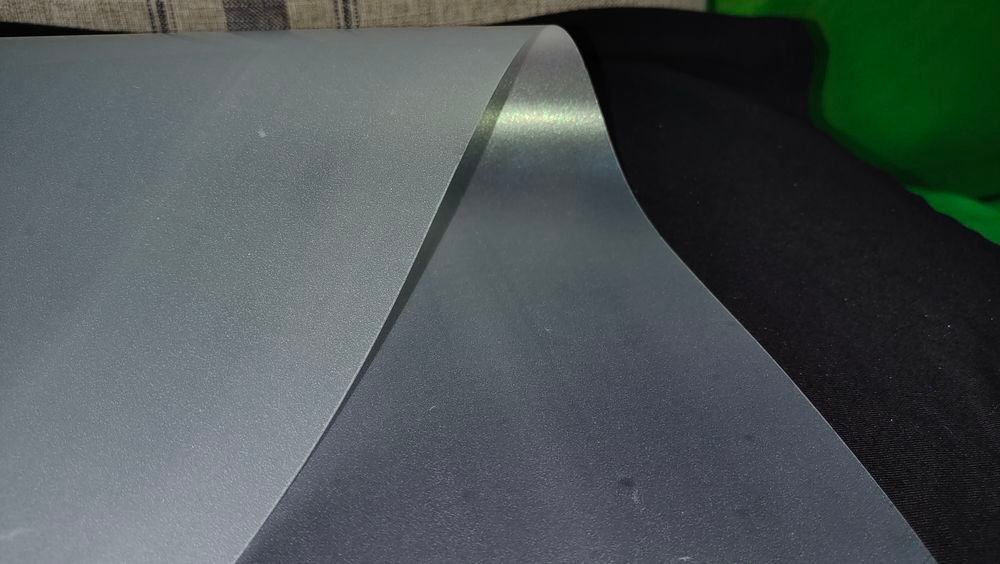
DTF transfer film is a specially coated PET film designed to receive water-based DTF inks. Unlike traditional screen printing, where you print directly onto the fabric, DTF printing transfers your design from the film to the garment using heat and pressure. This method allows for crisp details, vivid colors, and compatibility with both light and dark textiles.
Before you can do that, you need to prepare yourself.
Preparing to Print on DTF Transfer Film
Before you hit “print,” take the time to prepare your design and equipment. Here’s what you’ll need:
- Design Software: Programs like Adobe Photoshop, Illustrator, or CorelDRAW work great. Ensure your artwork is high-resolution and sized correctly for the garment.
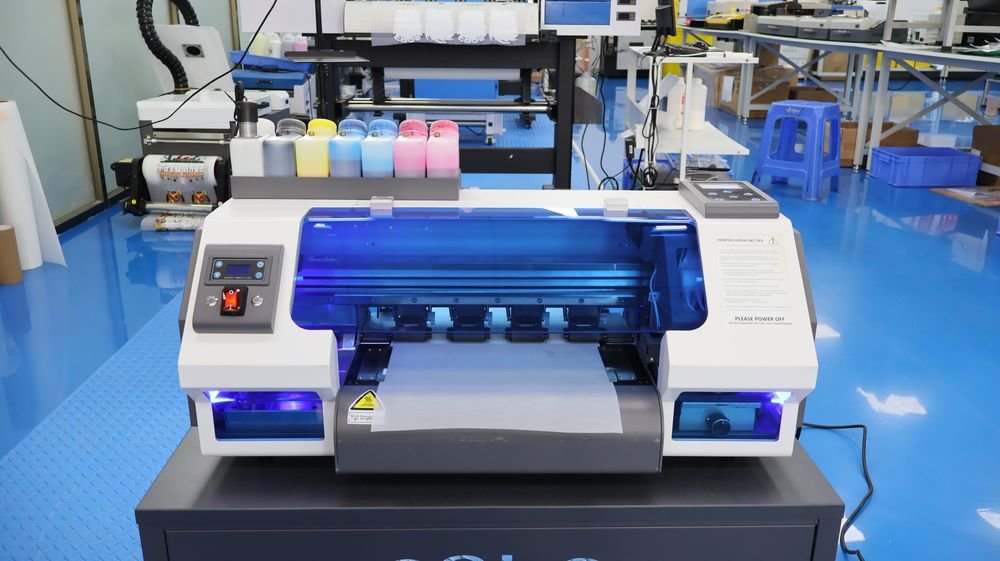
- DTF Printer: A printer modified or built specifically for DTF ink is essential. It should support CMYK + White ink channels. Of course, it can also support more colors.
- DTF Inks: Specially formulated inks that adhere well to film and fabric.
- RIP Software: Used to control color layers and ensure white ink prints beneath your design.
- DTF Transfer Film: Either in sheets or rolls, depending on your printer.
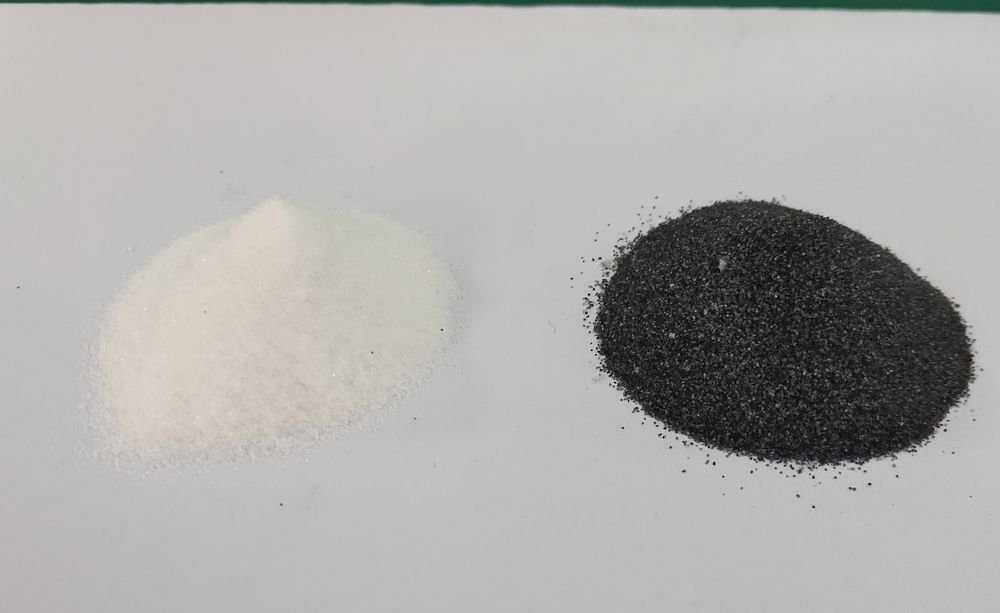
- DTF Adhesive Powder: This powder bonds the ink to the fabric during the transfer process.
Step-by-Step: How To Print On DTF Transfer Film
1. Design Your Artwork
Start by creating or importing your artwork in your preferred graphic design software. Make sure it’s mirrored — since you’ll be transferring the design face-down onto the garment.
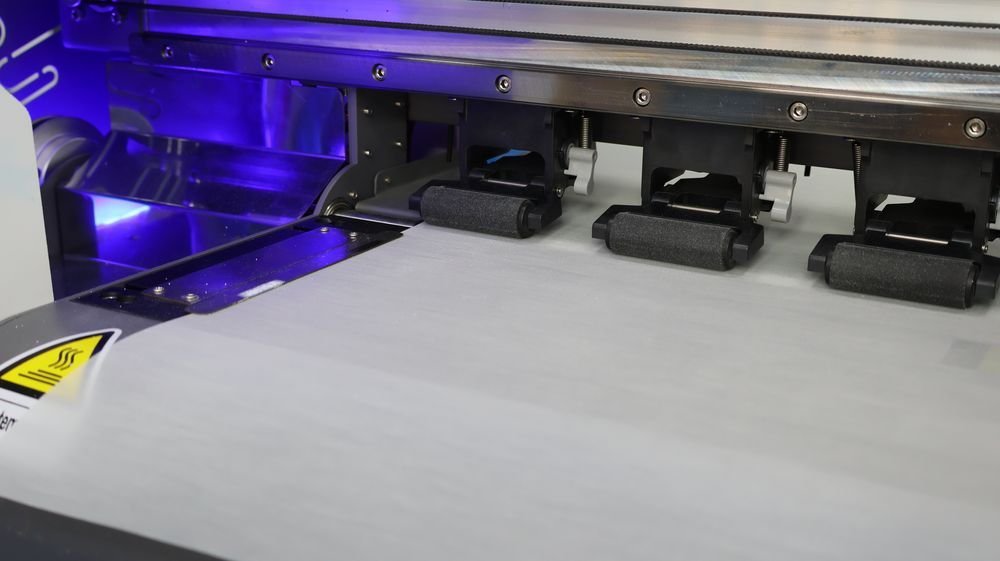
2. Load DTF Transfer Film into Your Printer
Place the DTF film into your printer. Always make sure the matte-coated side is facing the print head — this is where the ink will be applied. Use the manual feed tray if needed for better alignment.
- Tip: If you’re using roll film, your printer must support roll feeding. For sheet film, flatbed or tray-fed printers are ideal.
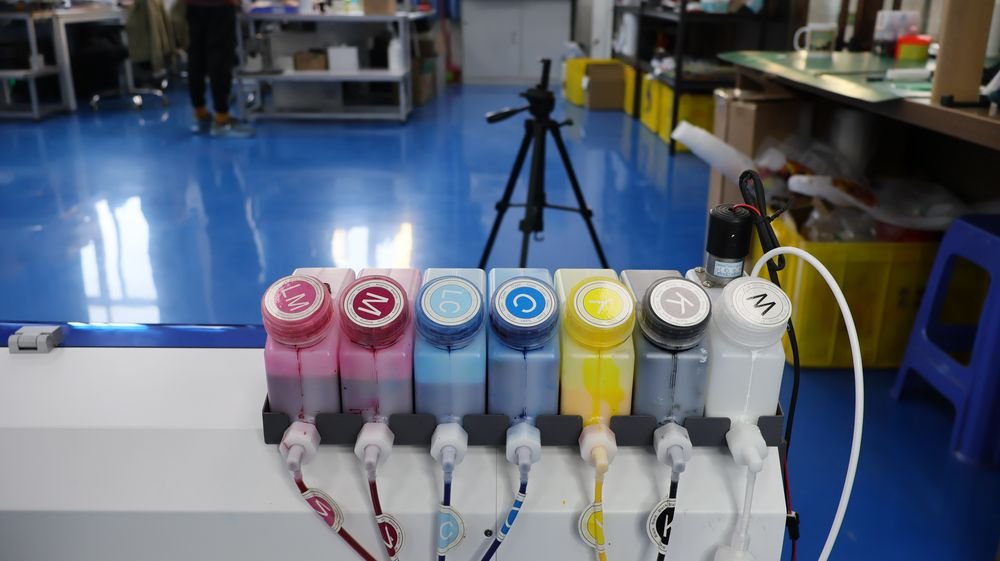
3. Fill the Printer with DTF Ink
Your DTF printer should have dedicated ink tanks or cartridges for CMYK and white inks. Fill them carefully and ensure the nozzles are clean. Perform a test print or nozzle check if it’s been idle for a while.
Here you need to remember to try not to use regular printer ink, see: Do Not Use Regular Printer Ink For DTF Transfers
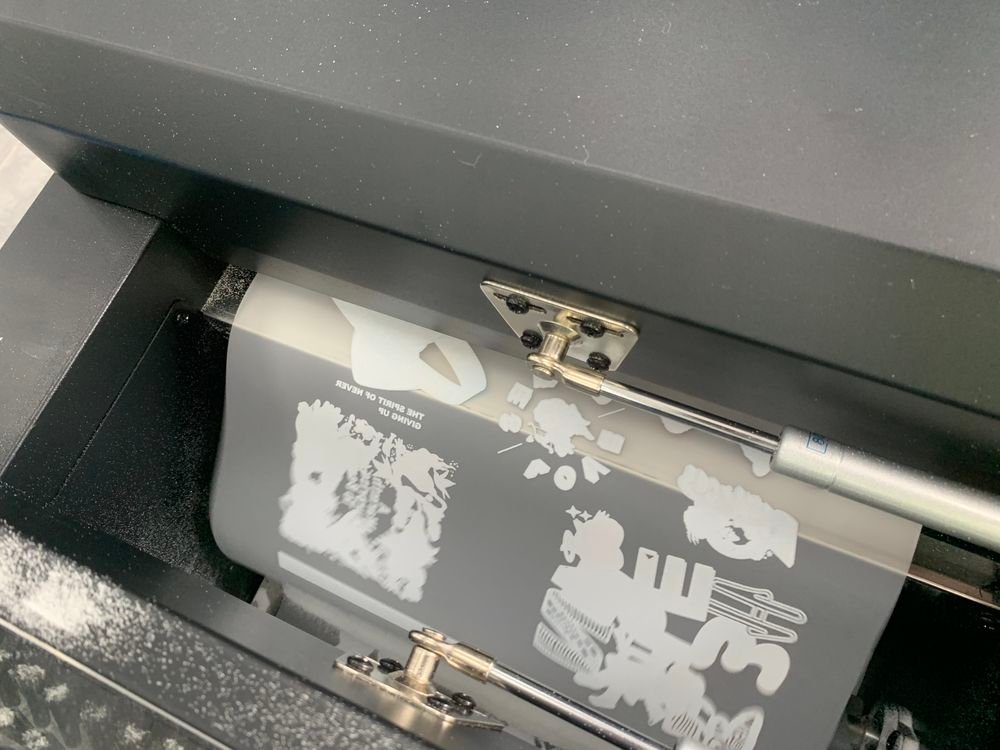
4. Send the Design to the Printer via RIP Software
Using your RIP software, load the mirrored image, apply the correct color profile, and enable white underbase printing (usually 100% white behind colors). Then hit print.
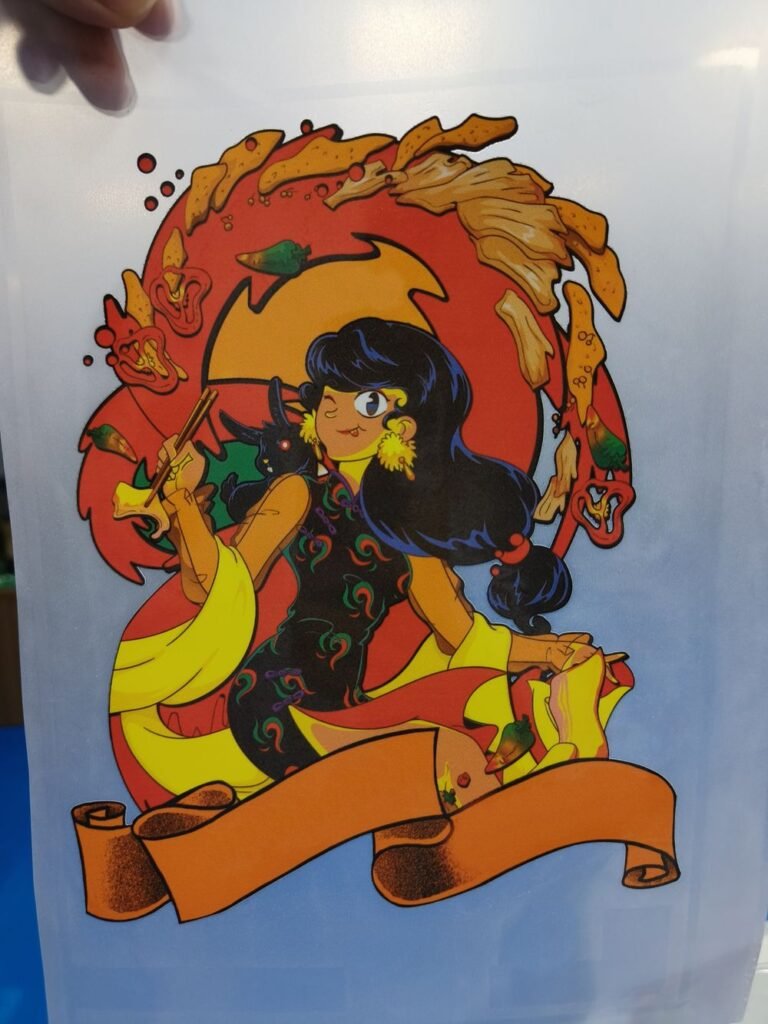
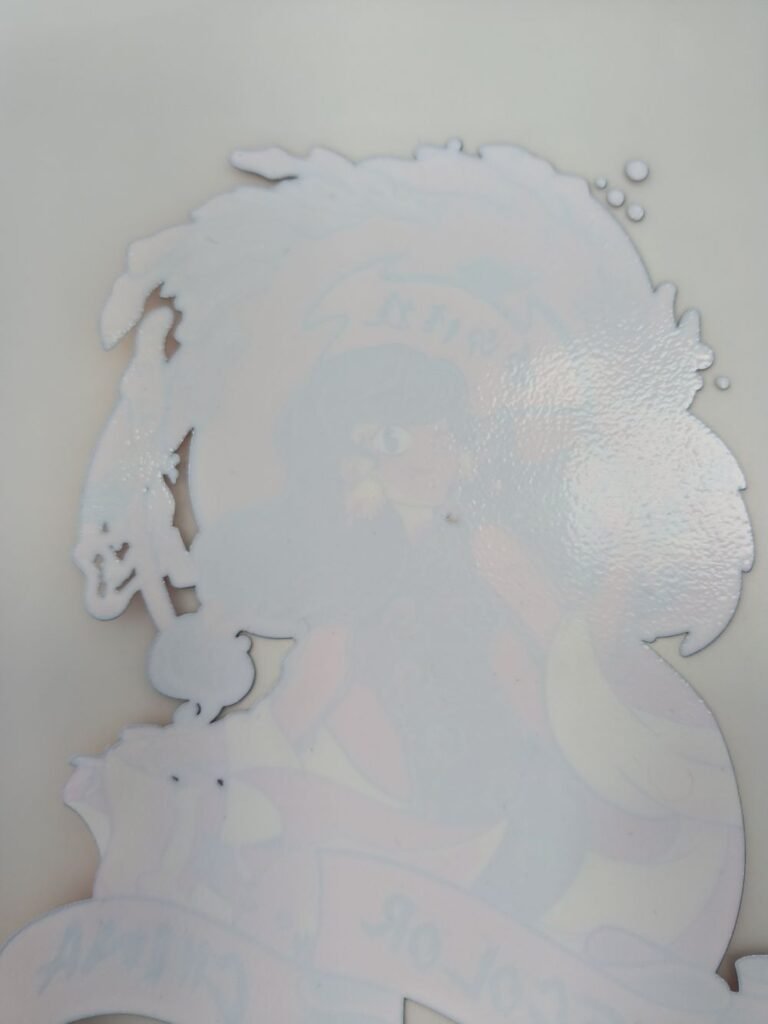
Watch as the printer lays down the color layer first, followed by a layer of white ink to back the design. This layering ensures the design will pop on any fabric color.
5. Apply Hot Melt Adhesive Powder
Before the ink dries, sprinkle DTF powder evenly over the printed area. Tilt and tap the film to remove excess. You want the powder to cover only the printed portion — not the blank areas.
- Even application = stronger, cleaner transfers
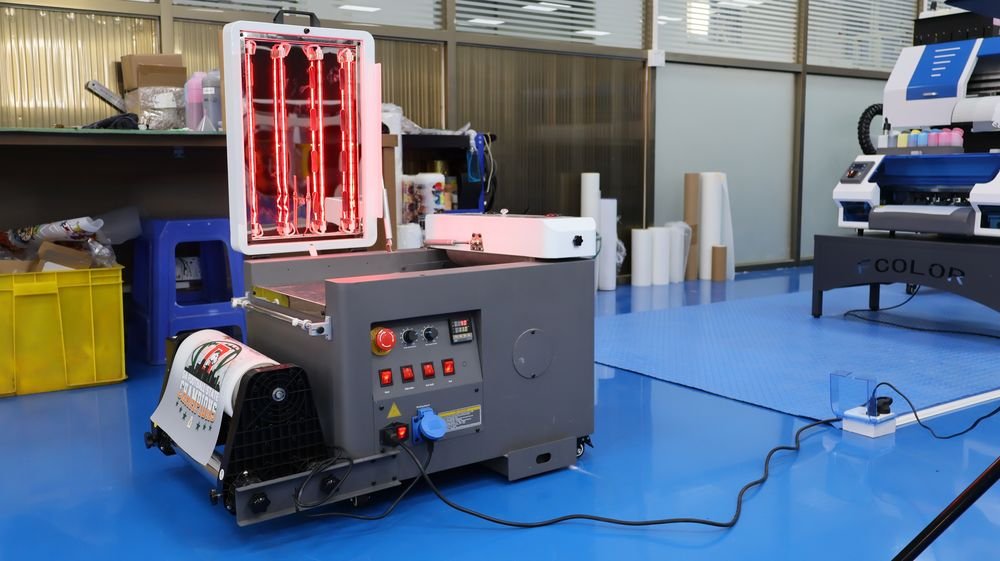
6. Cure the Powder
Next, cure the film to melt the powder and bind it to the ink. You can use:
- Curing oven: 110–120°C (230–250°F) for 2–3 minutes
- Heat press (hover mode): 160°C (320°F) for 2–3 minutes
- Heat gun (careful control): Ideal for small-scale or DIY users
The powder should look melted and semi-glossy when properly cured. To learn more see: How To Cure DTF Powder With Oven?
Key Considerations When Using DTF Transfer Film
- Roll vs. Sheet Film: Use roll film for continuous or large-batch jobs with compatible printers. Choose sheet film for desktop or small-format printers.
- Ink Drying: Be sure the ink doesn’t smudge during printing. If it does, check your drying setup or reduce ink volume.
- Film Quality: Not all films are the same. Low-quality film can cause poor adhesion, fuzzy prints, or static issues.
Film quality directly affects your printing results. To learn how to assess film quality, please see: How to Determine The Quality of DTF PET Film?
The Role of DTF Film in Design Choices
If you’re looking to add more special effects to your designs, it’s a good idea to learn about certain special films beforehand.
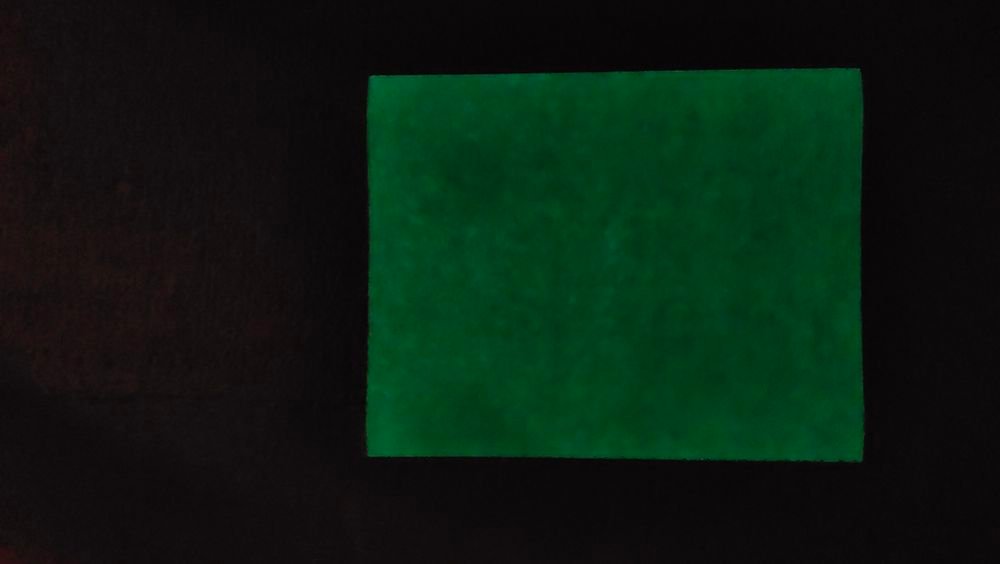
- Glow-in-the-dark film: Provides designs with a luminous effect in dark environments.
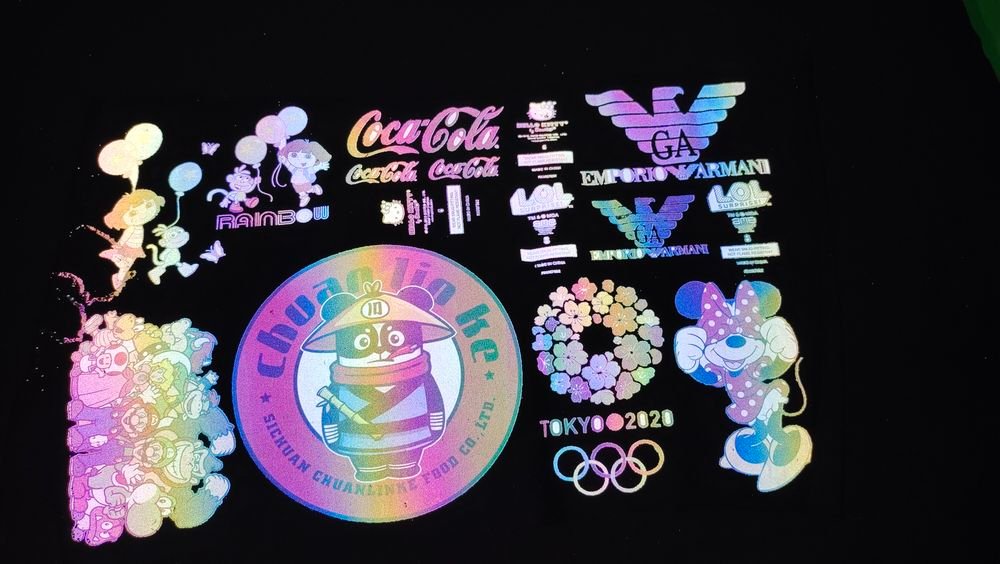
- Dazzling color film: gives a sparkling feeling on top of the design.
- Color-changing film: allows designs to have more colors.
Choose your film based on the finish you want and the type of garment you’re printing on.
After Printing: Finishing the Transfer Process
Once your film is printed and cured, here’s what comes next:
1. Position the Film on the Fabric
Lay your garment flat on the heat press and place the DTF film face-down on the fabric. Use heat-resistant tape to prevent shifting if needed.
2. Heat Press the Transfer
Set your heat press to 160°C (320°F) with medium pressure for 15–20 seconds.
3. Peel the Film
Let the fabric cool (if using cold peel film), then carefully peel away the film. The ink should stay bonded to the fabric, leaving a soft, stretchable print.
- Some users follow with a second press using parchment paper to improve durability and wash resistance.
FAQ: Printing on DTF Transfer Film
Q1: Can I use a regular inkjet printer for DTF? A: Not really. You need a printer capable of printing white ink and compatible with DTF inks and film.
Q2: Do I always need to mirror the design? A: Yes. DTF prints are transferred face-down, so the image must be mirrored beforehand.
Q3: How do I avoid powder sticking to unwanted areas? A: Use a soft brush and remove excess powder before curing. Also, avoid handling the film too much after powdering.
Q4: What’s the best film — hot peel or cold peel? A: Cold peel is safer for beginners and ensures cleaner details. Hot peel is faster but requires more experience.
Q5: Can I reuse DTF film? A: No. Each sheet or section of film is one-time use only.