


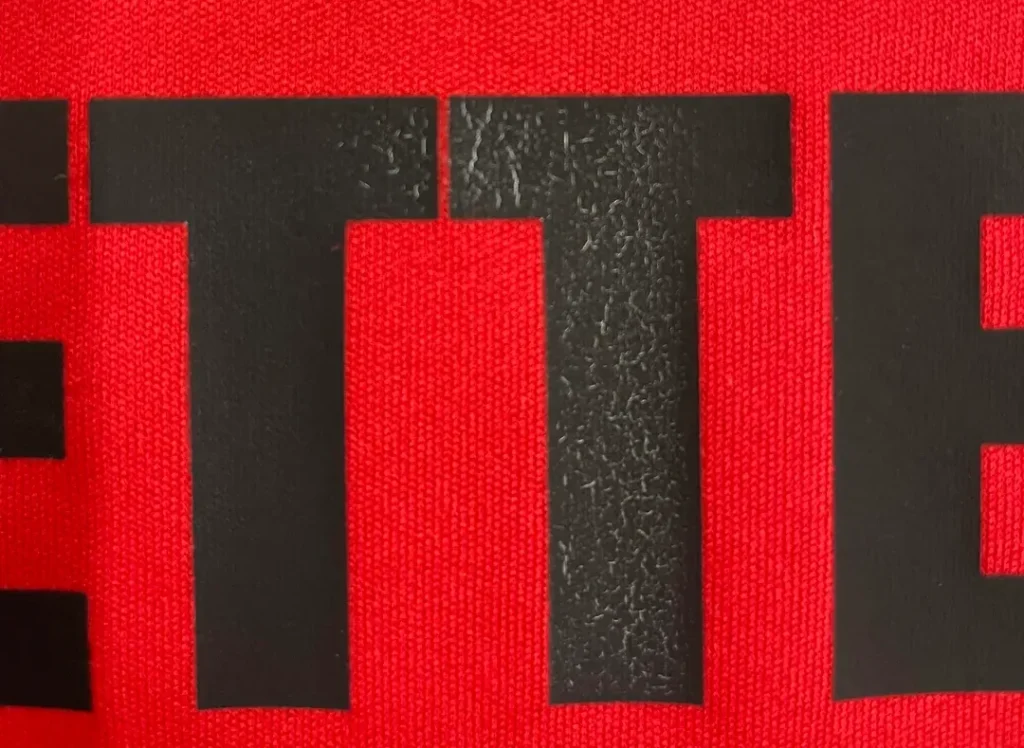
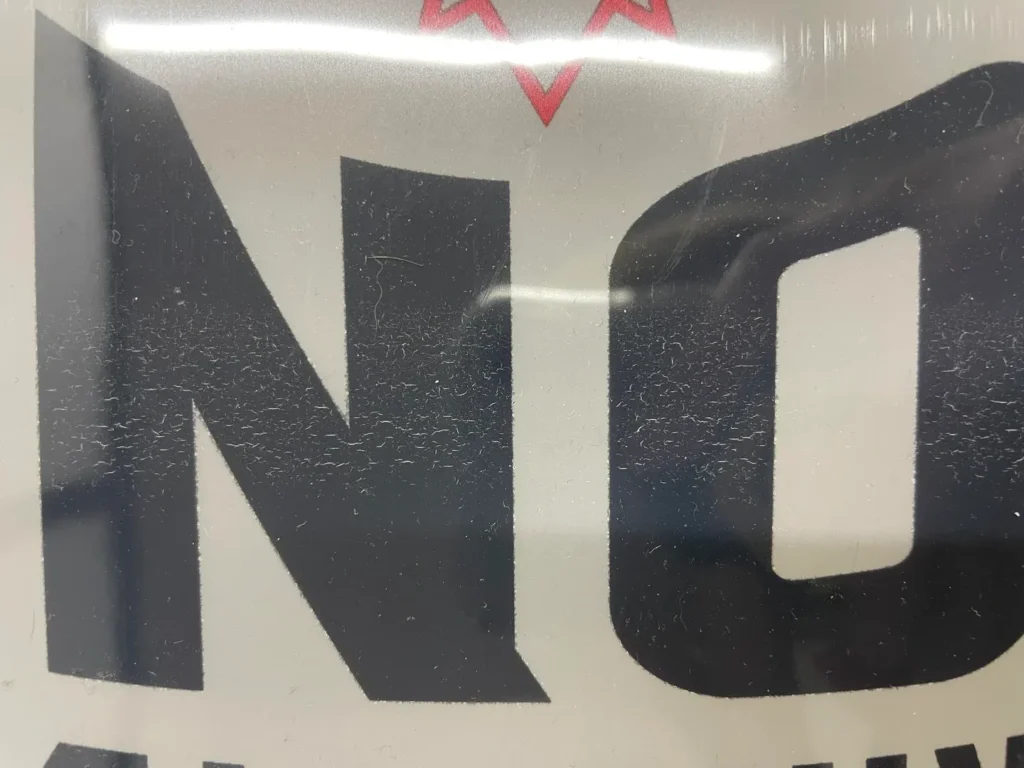
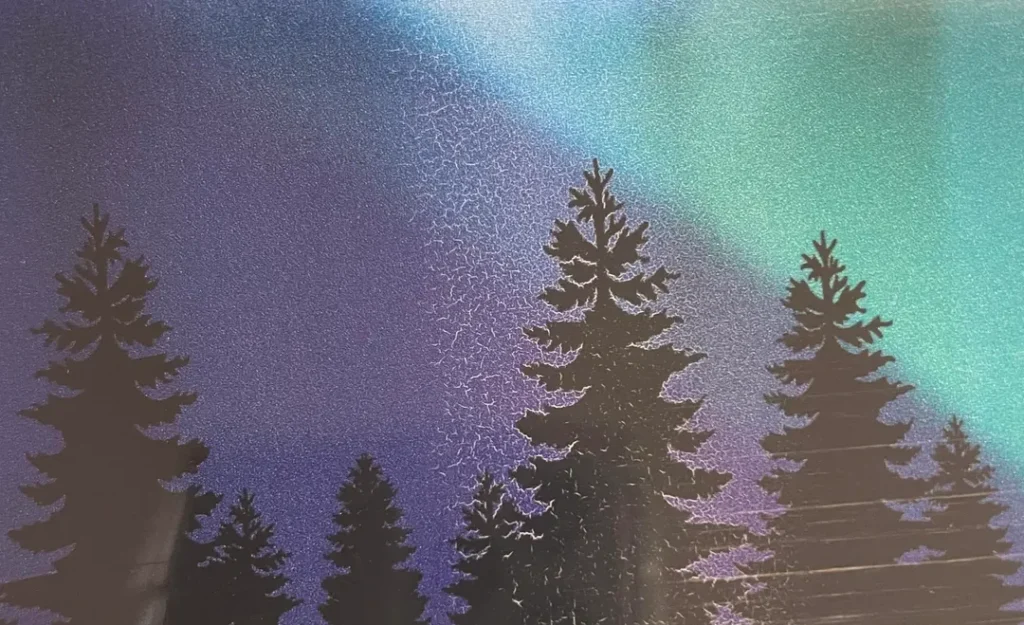
The occurrence of cracking is generally linked to the materials and equipment used in the printing process. Typically, the cracks will look like this. If your printed products have similar issues, it’s highly likely that a step in the printing process is flawed.
People instinctively stretch a graphic tee to judge quality. That quick pull tests three things at once: how well the ink layer fused with the adhesive powder, whether the film laid down enough ink to bridge the fabric’s movement, and if the curing (temperature + time) created a flexible—but not brittle—transfer. If any of these are off, the print won’t move with the garment and micro-cracks appear, growing into visible splits over time.
At trade shows, I’ve noticed people instinctively tugging at printed T-shirts to assess their quality. It’s almost as if this pulling action is a kind of product test, and it’s not without merit.
This simple stretch can reveal three key issues:
- The fusion between the ink layer and the adhesive powder.
- Whether sufficient ink volume was applied to accommodate the fabric’s stretch.
- And if the curing process (temperature + time) resulted in a flexible, non-brittle transfer.
If any of these aspects are off, the print won’t stretch properly with the garment, cracks will appear more easily after stretching, and these will gradually widen into visible fissures over time.
Stretch Cracking After DTF Printing Common Causes
There’s definitely a reason for this lack of stretch resistance. Based on our experience, it’s generally due to these factors:
- Incomplete Powder Curing: The adhesive powder hasn’t fully melted or flattened, leaving a slightly damp powder layer on the DTF ink. This naturally results in a substandard transferred image.
- Insufficient Ink Layer: The ink layer thickness isn’t fully covered. Insufficient ink output makes the final transferred product prone to cracking.
- Mismatched Curing Method: Different powders require different curing temperatures and times. Temperatures that are too low or times that are too short (insufficient curing, brittle edges) or temperatures that are too high or times that are too long (over-curing, ink embrittlement) are both problematic.
- Uneven Heating Surface: Weak spots in the heating area inside the powder shaker or DTF oven prevent complete curing, causing parts of the finished product to crack.
- Fabric and Environment (Influencing Factors): Highly elastic blended fabrics, residual softeners, high humidity environments, or using incompatible powder/film combinations can all reduce crack resistance.
It should be noted that the amount of ink needs to be strictly regulated output, if the output of a large amount of ink at once, it is likely that you will face the problem of “print bleed or flow of ink”, you can see: What Causes DTF Ink To Bleeding Ink When Printing
Stretch Cracking After DTF Printing Can Be Solved In These Ways
Here are some effective methods you can try:
1.Checking Cured Surface Levelness and Heat Consistency
- When using a powder shaker: Inspect the internal heating plate for warping or depressions, and ensure proper airflow.
- When using a DTF oven: Verify that the tray/wire rack is level and the heating plate provides consistent heat. Ensure the powder fully melts and spreads evenly throughout the printing process, rather than partially curing.
2.Confirming Powder is Fully Fused
- Examine the back of the transfer film (before transfer) for a consistent, glossy/smooth bond. Wet, grainy areas usually indicate insufficient fusion strength and susceptibility to early cracking.
3.Evaluating Ink Coverage
- Run small test swatches at your current settings, then incrementally increase the total ink volume, and test the stretch performance. If thinly coated areas crack first, the ink output is too low.
4.Change temperature and time
- Short/low-temperature curing results in insufficient layer fusion; long/high-temperature curing can lead to over-baking and film hardening. Adjust parameters incrementally, changing only one parameter at a time, and record the results.
If you want to learn about temperature and time settings, read this article: How To Cure DTF Powder With Oven?
5.Incorrect Heat Press Application
- Uneven pressure or insufficient pressing time can also cause edge brittleness. Confirm platen pressure, dwell time, and peeling method according to film/powder specifications.

More Solutions To The Problem Of Stretch Cracking
- Tune curing temperature & time as a pair.Increase temperature slightly and extend time in small steps (or decrease both) until the print stretches cleanly. As a rule of thumb, higher temps generally pair with longer time; lower temps with shorter time. Always follow your powder/film manufacturer’s recommended window.
- Adjust ink laydown in the RIP. Gradually raise total ink so the printed film builds a flexible body that can move with fabric. After each step, perform a 2–3× stretch test. Stop increasing if you start to see side effects like ink flow/bleed or puddling—then back off to the previous clean setting.
- Try a different DTF powder (or batch). If curing and ink tweaks don’t fix stretch response, swap to a powder known for better elasticity. Compare the same artwork with identical settings to isolate whether the powder was the limiting factor.